
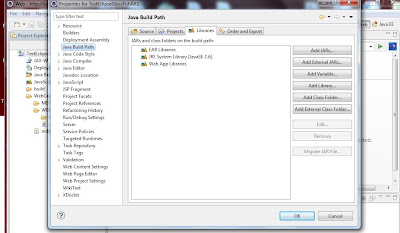
13- Right Click on the application name and slide to the bottom and select ‘properties’ for our web app TestEclipseGlassFishARS.
14- Select libraries and observe the source of the problem.
14- Select libraries and observe the source of the problem.

15- Select JRE System Library and click the edit button on the right.

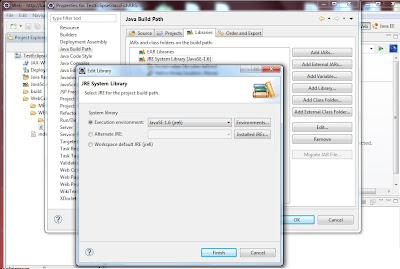
16- Click the Add button the Installed JREs window.

17- Select Standard VM on the JRE type window.

18- The JRE Definition window opens. Select JRE Home using the directory button and go to the JDK 1.6 installation directory.

19- Your choice fills in all the necessary fields on the JRE Definition window. Click the finish button.

20- Installed JRE’s window appears again with the newly added JDK 1.6 directory.
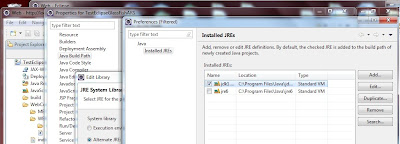
21- Select JDK 1.6 and return back to the JRE System Library window which also has the new addition as seen in the picture. Select JDK 1.6 as Alternate JRE and then click Finish.
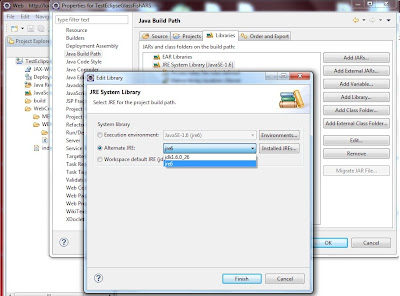
22- JRE System Library is now changed to JDK 1.6 as required by GlassFish.

23- Try once more to run the test web app. It works. Don’t g’ve up! You will make it.
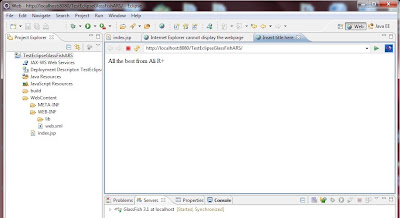
Cheers.
Ali R+ SARAL
Note: I know that the picture quality may not prove to be good. If you like you may obtain a Word format of this tutorial for free from arsaral(at)yahoo.com. Sometimes I may be hecticly busy but I promise a response with in a couple of hours.